Basic Cut Crease Eye Makeup Tutorial
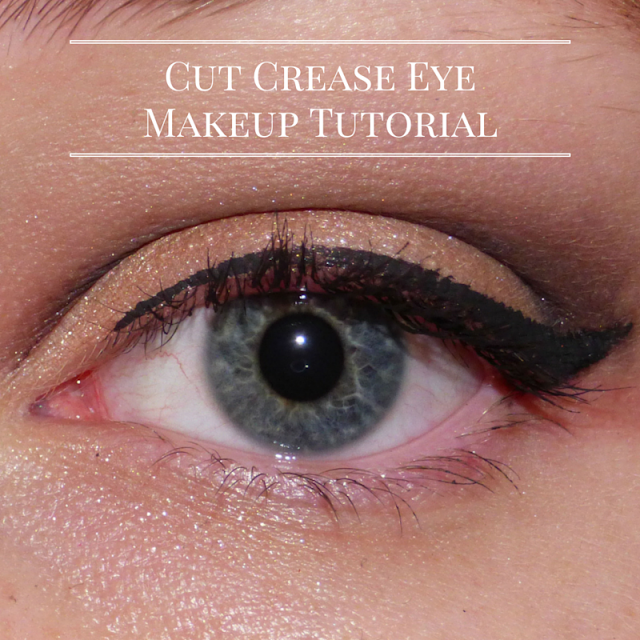
In this tutorial I am showing you how I do a basic cut crease eye look and cut creases are so versatile, I really like how dramatic they look.
Firstly, I used the Maybelline Gel Liner to trace out my cut crease line just above the natural crease of the eye. This line doesn't have to be perfect, its just going to be used as a guide.
The first shade I am using is a light matte brown and I am buffing this above the crease line and blending it up towards the brow bone.
Then I am repeating the same process with a brown that is a few shades darker and blending this closer to the crease line.
Then with a darker matte brown, I am using a pencil brush to blend this shade directly on top of the crease line and into the previous shade. Then I just took a blending brush and made sure each shade was blended into each other.
All over the lid with an accent brush from Real Techniques, I am applying Maybelline Colour Tattoo in Crème de Nude and this is going to act as a base for colour and to make underneath the crease line sharper.
Then on the lid you can pat on any shade of eyeshadow you want, I selected a pale rose gold shade.
Going back to the crease, I took a precise eyeliner brush and a black eye shadow and went over the crease line and then blended it into the previous shades.
Then I finished off by applied a sleek wing to my upper lash line.
To make this even more glamorous, you can apply glitter to the lid or even change the shape of the cut crease and get a bit more creative with it!
Beth x


Comments
Post a Comment