Snow White Inspired Makeup Tutorial


To begin I applied my MUA Eyelid Primer and then I applied Barry M White Eyeliner to create a base for more intense colour. I blended this all across the lid and browbone.

In this look we are creating a gradient blended effect and a straight edge to the dark blue so I stuck a piece of tape against the edge of my eye at an angle.

The blue I am using is this gorgeous matte blue by MUA and it is called 'Midnight'.

I am using the ELF blending eye brush to buff this just above the natural crease line. Then I used my No 7 Blend and Contour brush to fluff the colour into the crease. Using window-wiper motions, blend the colour up to the brow. This creates a gradient effect.

To soften the edge of the blue, I am gently blending the colour 'Toffee' by MUA on the edge of the blue.


I am in love with this gold eye shadow I bought recently. This colour is called 'Golden' and it is by MUA.

Using a flat eye shadow brush, pat the gold all over the eyelid.

I am using this dark reddish pink from the MUA Poptastic palette.

Using a precise brush I blended this into the inner half of the crease paying extra attention in making it visible when my eye is open. Blend this into the blue but try and keep the gold clean.

As my highlighter shade I am using this pale off-white colour and a precise brush. I dotted this in the inner corner and under the brow bone.

I will be applying fake eyelashes in this tutorial but first I am creating a very thin lash line using liquid eyeliner. Next, curl your lashes and apply thin layer of mascara.

The lashes I used were from the P.S. Love Collection in Primark and they are the natural lashes. This step is optional but I wanted to use eyelashes for this tutorial.


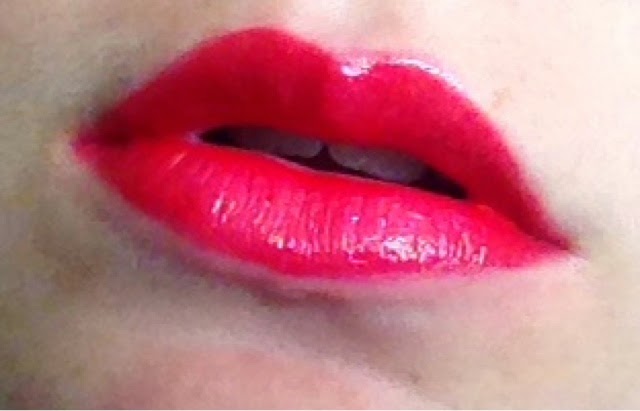
On my lips I used my red MUA lip pencil, followed by a red lip blush and to add some gloss I used my red No 7 lip gloss. On my cheeks I used a subtle pink and No 7 Blush in Soft Damson was perfect for that.


I hope you guys enjoyed this tutorial and on Friday I will be publishing my take on a Cinderella makeup tutorial.
SparkleEyes x


Comments
Post a Comment