Evil Queen Inspired Makeup Tutorial
Welcome to my new tutorial series! This time I am doing makeup tutorials inspired by Disney Villains because I think they are so much more interesting as characters in Disney, and while Disney Princesses are pretty much the same, the villains, I think, have much more personality and different qualities that make them unique. The makeup that I am doing for the villains are what I expect to be what they would wear if they were real people and today I am beginning with the Evil Queen from Snow White.
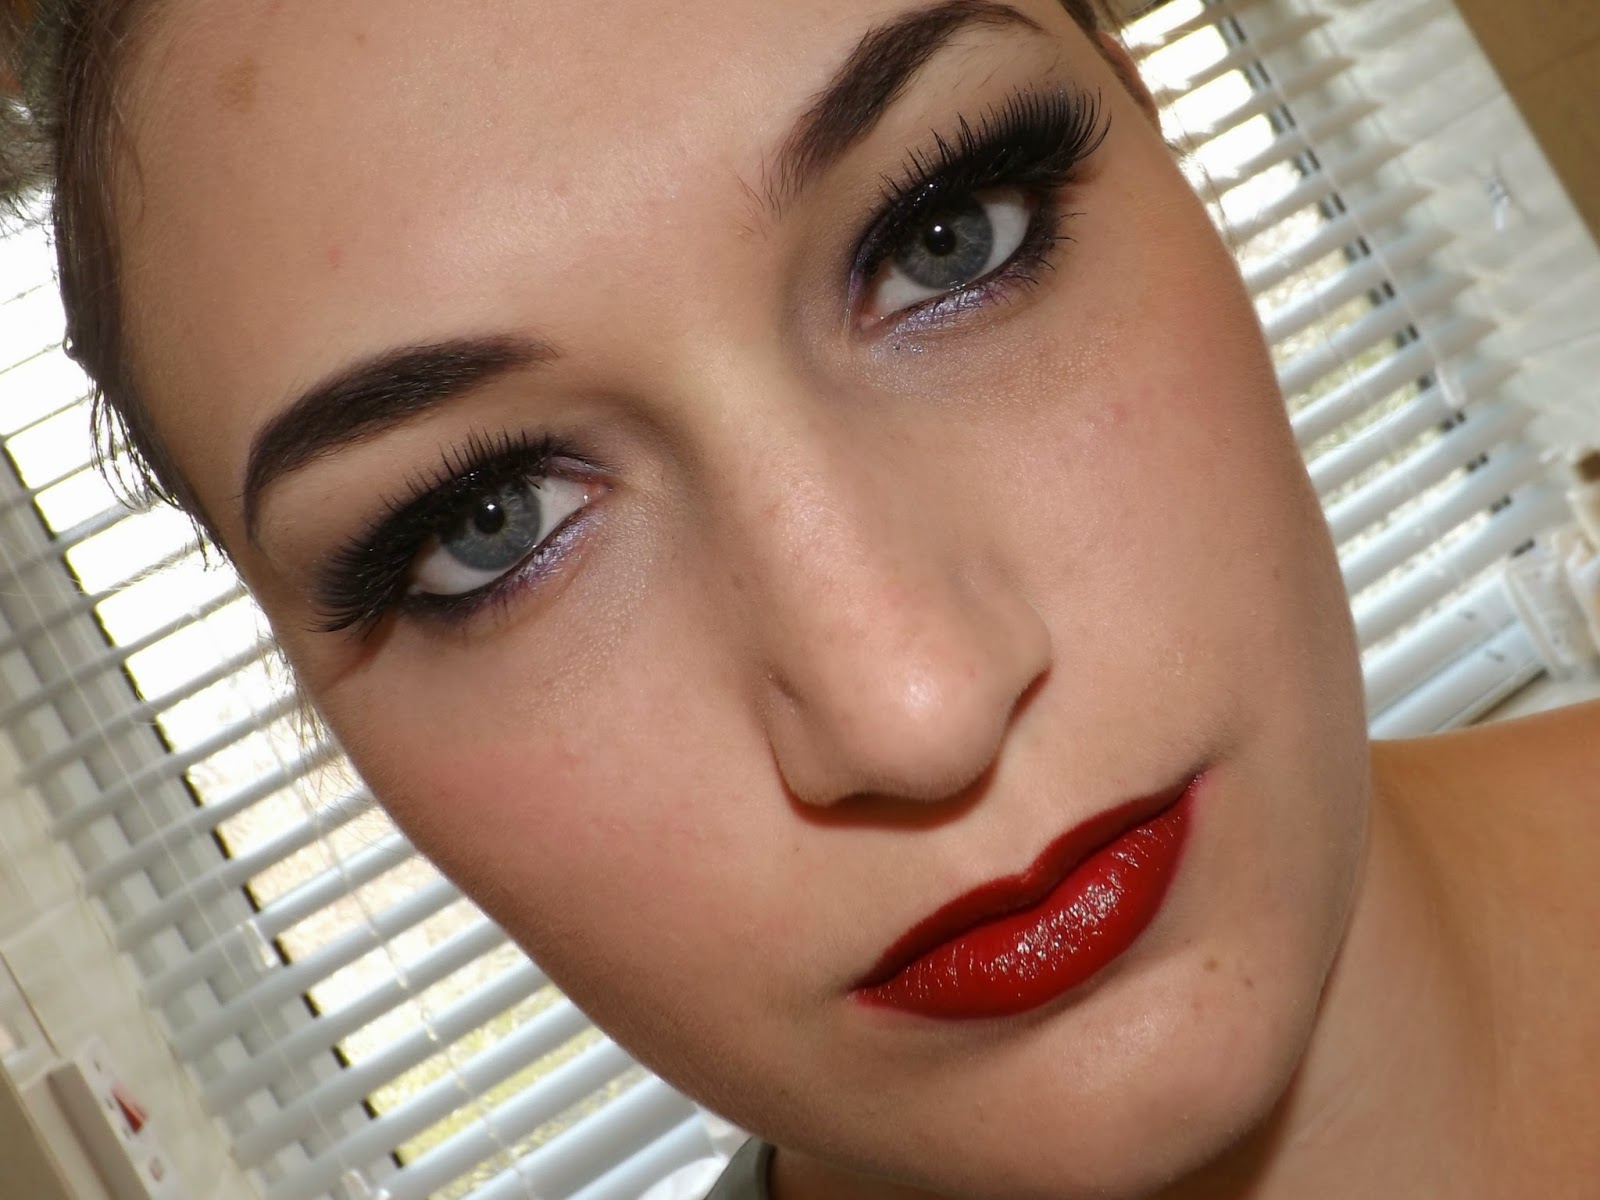
The Evil Queen from Snow White and the Seven Dwarfs has a very distinctive makeup look. While her skin is pretty much plain without any strong contour or anything, her eyes and lips are very dramatic and the two combined create an intense look. I wasn't too careful with how much makeup I used because after all, Disney Villains are all about being over the top, and I wasn't too careful with blending or placing the shadows either.
The first thing I did was prime my eyes all over and apply a black eyeliner base all over the lid and a white eyeliner underneath my eyes and blended out. I also used colour correction under my eyes and concealed any blemishes too and then applied a light layer of foundation.
I had to define and darken my brows and to do that I used an angled shadow brush with a black eyeshadow and created a very strong shape and tried to create a similar shape to the Queen. Highlight under the brow for some extra definition and intensity and I used concealer that was a shade lighter than my skin tone to really exaggerate this.


Soften the edge of the black with a nude matte eye shadow.


I had some dramatic false lashes to complete the look.
I love how this turned out, and I have enjoyed these tutorials more than the Princess ones I did last year, so make sure to come back on Wednesday to see a new Villain look.
Who is your favourite Disney Villain?
SparkleEyes x


Comments
Post a Comment