Vintage Romance // Valentines Day Makeup Tutorial
Hello, and welcome back! How is everyone today? Since Valentines Day is next week, I thought that it would be the perfect opportunity to use the Sleek 'Vintage Romance' Eye Shadow Palette to create a dramatic and stunning makeup look which will be great for a hot date or catching attention from admirers!


After applying an eye shadow base, I am using some tape as a guide to create a sharp edge for the makeup. The first shade I am using is 'Crème Brulee' by Makeup Geek which is one of my favourite eye shadows to use as a transitional colour because it helps every single shade you could possibly use to blend out beautifully. Ensure you go right up to the tape to make sure you get the sharp edge and fluff the colour up towards the brow bone so the colour is visible when we have finished.

Moving onto the Vintage Romance palette by Sleek, I am using 'Vow in Venice' all the way through the crease just below the previous shade using a 228 brush from Zoeva. I am making sure that the edges of the purple are completely blended out for a flawless look.

I wanted this look to have a slight halo effect so I mixed the shades 'Love in London' and 'Forever in Florence' together on a 231 Zoeva brush and patted the shade on the inner and outer third of the lid, ensuring the middle is free from product. I took my smaller crease brush and quickly blended the edges to eliminate the harsh joins between the lighter and darker tones.
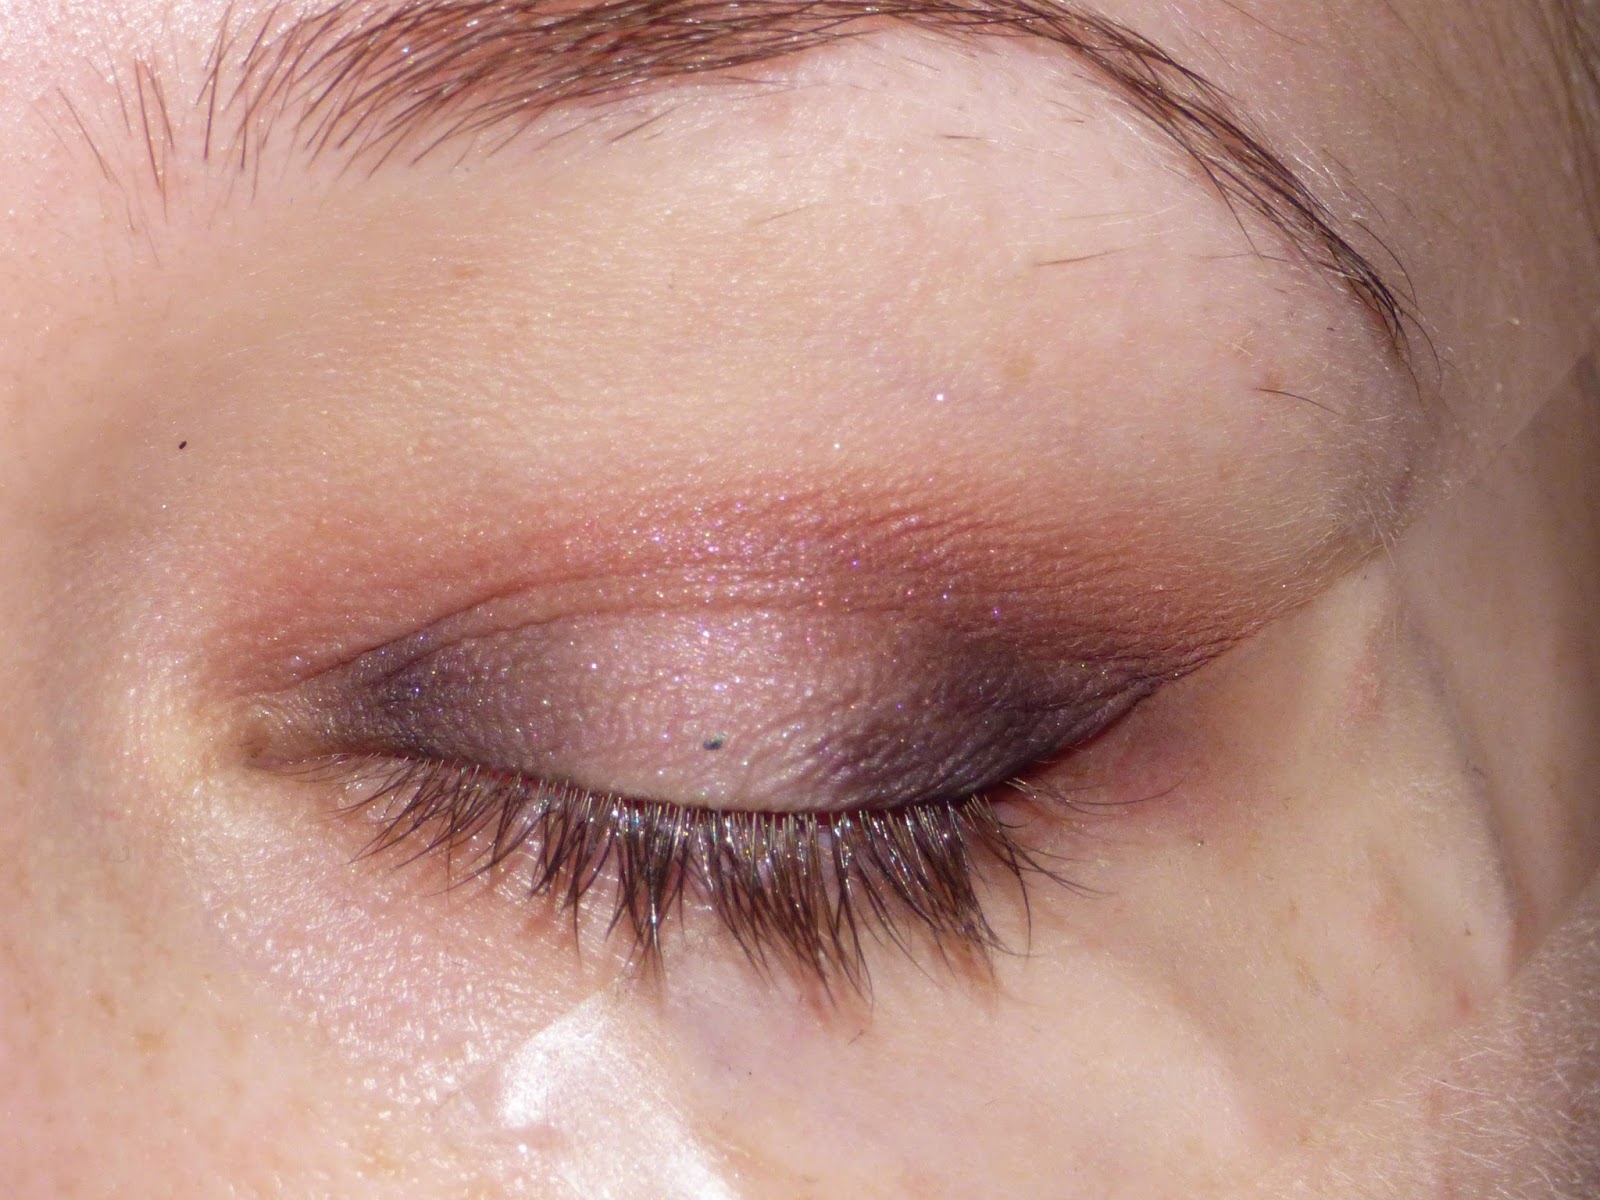
Moving onto the Kiko Long Lasting Eye Shadow Stick in the shade number 31, I am applying this all over the lid and blending it out with a shading brush from Real Techniques.

I wanted the look to have a bit more purple, so I took the shade 'Bliss in Barcelona' on a Real Techniques Essential Crease Brush and just buffed the colour through the crease and on top of the black shade on the outer and inner third.

I then took the shade 'Pretty in Paris' on a flat shadow brush and patted this over the Kiko Cream Eye Shadow and once again took a clean blending brush just to join everything together. The next step is to then trace the upper lash line with a gel or liquid eyeliner and wing it out at the outer corners.

I then needed to create balance to the eyes so I used 'Honeymoon in Hollywood' on the inner and outer third of the lower lash line and filled in the centre of the lower lash line with 'Pretty in Paris'.

As a girl who loves glitter, I had to add some sparkle for Valentines Day so I used NYX Glitter Liner in Crystal Hip just over the centre of the lid and then I patted a tiny bit of Barry M Glitter in Snow Globe over the top and waited a few moments for it to set. I also dotted a little bit of the glitter liner on the centre of the lower lash line to match the top.

I completed the eyes by using a black kohl pencil in the lower water line, applying mascara and adding a pair of falsies to bring the look together.

To finish the rest of the makeup, I used some colour correction to neutralise out the discolouration in my skin before foundation. This is so I can achieve a flawless base. I blended my favourite foundation all over the skin, making sure I really worked it in to the texture of my complexion. For warmth and a little bit of contour, I used my MAC Bronzer in the shade Golden on the hollows of my cheeks, jawline and hairline. For highlight, I took the L'Oréal True Match Liquid Highlighter in the high points of my face; tops of my cheekbones, tip of my nose, cupids bow and the centre of my forehead to catch the light and to brighten up these areas. Finally for blush, I lightly blended some of the MUA Whipped Velvet Cream Blush in Rococo on the apples of my cheeks as a base to amplify the shade 'Guipure' from the Sleek Blush by 3 Palette in Lace.

On the tips I used a combination of the Sleek Eau La La Lip Liner in Dragon Fruit with a NYX Lip Lingerie in Exotic. I finished with a touch of clear lip gloss in the centre of the lips.


So I hope you guys enjoyed this makeup tutorial, I absolutely love how it turned out!
Don't forget to check back on Monday's and Friday's to see a brand new post!
Beth x


Comments
Post a Comment